Classroom Easter Favors

Hopping into the joy of Easter!

Waking up and finding that the Easter Bunny had left me an easter basket was one of my favorite memories as a child and a tradition I have really enjoyed passing on to my children. This year, as the Classroom Coordinator for my daughter’s Kindergarten class I had a lot of fun letting my imagination loose.

Traditionally the students receive a sweet fun little treat bag for Easter, but this year I really wanted to give the students in my daughter’s Kindergarten class something unique – especially after what we’ve all been through and having missed out on this lovely holiday the year before due to the COVID lock-down, so in addition to the fun little toys and treats, I partnered with their teacher to get photos of each of the students acting as if they were pushing or breaking out of an egg! The results came out cuter than I expected!

The execution of said effort was easy and fun and provided a wonderful creative outlet for me. What more the smiles and joy on the faces of the students made it totally worth it!

Easter egg surprise

Supplies:

  • Plastic easter buckets. Party City sold sets of 12 which came in three colors.
  • Photo print outs. Once you know the size of bucket you are working with, you can scale the photos to fit and print them off. I printed the student’s photos off at home on our printer, but you can also upload and have them printed at a nearby photo center like Walgreens or Wal-Mart which are very affordable.
  • Easter grass. I prefer the crinkle paper to the plastic – as it displayed nicer
  • Poster board. I picked up some plain white poster board at the Dollar Tree and used a sample cut out of an egg that traced over and then cut out and glued to the bucket that I then placed the student’s photo in to make it appear as if they were breaking out of the egg.
  • Dye-cut paper eggs. I put a dye-cut easter egg on either side of the egg with the student’s photo to add contrast and a pop of fun color.
  • Fluffy chicks. Oriental Trader had sets of these multi-colored chicks which I added a fun and cute touch.
  • Glue dots. These are the best! This was the best product I could find for adhering everything to the plastic buckets!
  • Plastic Gift Bags. Oriental Trader sells these in sets of 12 which was perfect, as all I had to do drop the finished bucket in the bag and tie it!
  • Ribbon. Again Oriental Trader for the win here! They sell a set of fun multi-color satin ribbon which added a pop of color.

Fillings:

It is always fun finding neat treats and toys to fill easter baskets! We did our best to be mindful of avoiding too much sugar, so we filled the baskets with:

  • Annie’s Bunny Crackers
  • Welch’s bunny gummies
  • Cotton Tail cheese poofs
  • Bubbles
  • Pull back and let go bunny
  • Stickers
  • Puzzle
  • Coloring book w/ crayons
  • The cutest and softest stuffed bunny from Oriental Trader! After all, how can you possibly have an easter basket without a bunny?!

Classroom Christmas Favors

They are all little angels

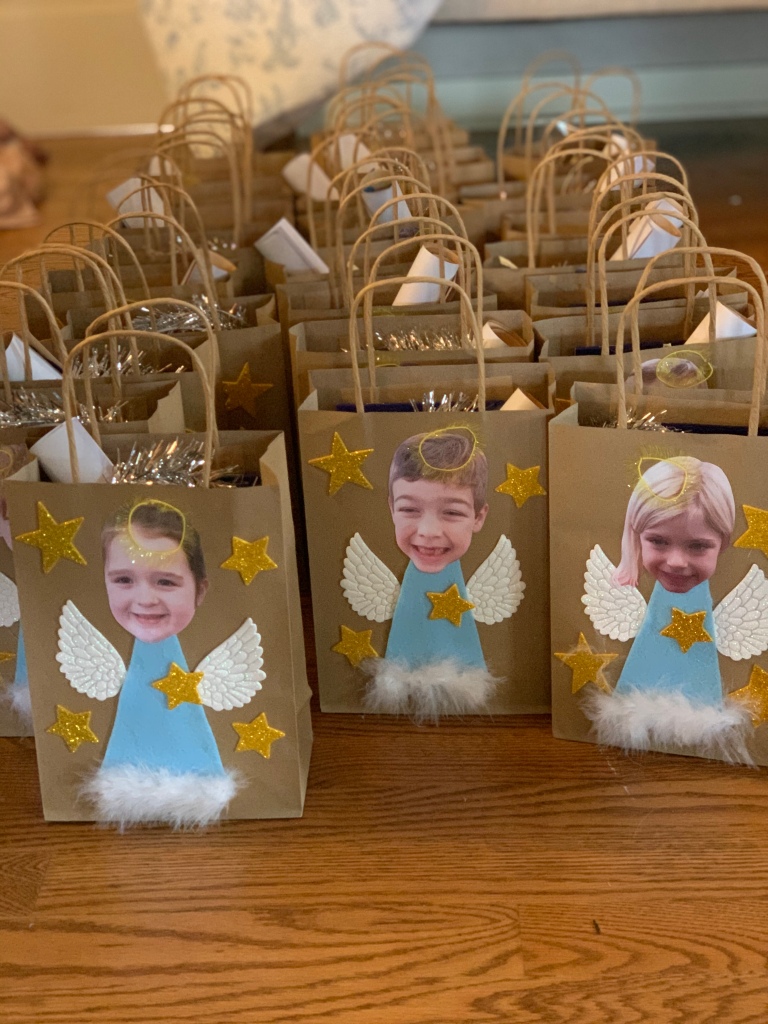
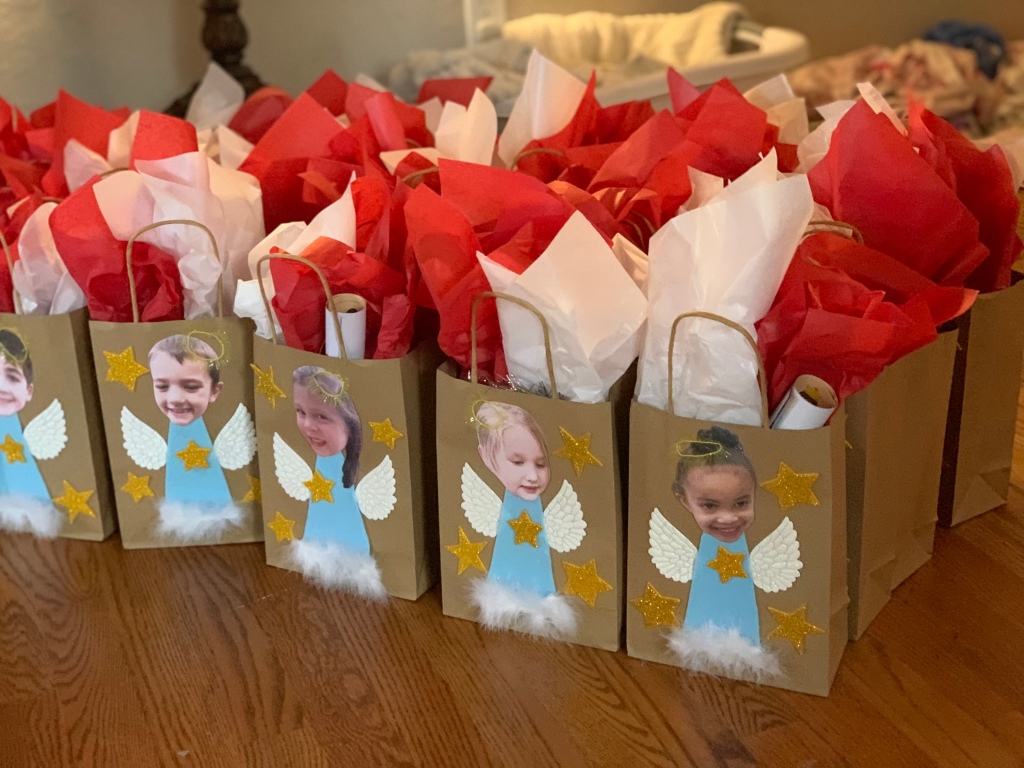
This year more than ever we needed the Christmas Spirit! We all have been hard hit by COVID and as we go into the holidays it’s nice for the students to have activities to do rather than a bag full of sweets. Also, to prevent arguments over who’s bag belongs to who the problem is solved by personalizing each student’s bag with their photo on it!

Supplies:

  • Photos of the students. Again we have the best Kindergarten teacher who is so sweet to work with me on these fun holiday treats – she captured photos of each of these little angels (without masks this time!). As I was trying to achieve a ‘bobble head’ look and feel, I scaled the images of the student’s faces larger than I would when I printed them out.
  • Plain Kraft Paper Bags. I choose brown as it showed off the angel wing better, but you can use any color bag you like.
  • Blue felt. I picked up a couple of sheets of blue felt at the craft store to use as a body. These were easy to cut out as long narrow triangle shapes and trim them down accordingly.
  • Angel Wings. I found these cute fabric angel wings on Amazon. They come joined, but I cut them apart so I could get the effect that the angels are flying.
  • Stars. I also found these glittery foam stars on Amazon. They were easy to use as they were just peel and stick. If I were to do this again, I would go with a smaller size star. I tried finding smaller sizes online but unfortunately they were all sold out.
  • Feathers or feather boa. To give the look that our little angels are floating on a cloud, I picked up a thin feather boa off Amazon and cut it down and hot glued it to the bag. It feathers added the texture and 3D look I was aiming for, but be prepared to have a broom close by with a dustpan – those feathers go everywhere!
  • Yellow Yarn. I used a fuzzy yellow yarn for the halo to complete the look. This did not work out as well as I had hoped and they were the most challenging thing to adhere to the bag. I would probably work with a different material if I did this again.

Filling:

My daughter helped me pick up fun activities, toys, and treats to put in the holiday gift bags which included:

  • A halo headband
  • Christmas activity book and crayons
  • Candy cane
  • Reindeer stuffy
  • Stickers
  • Peppermint Chinese yoyo

Teacher’s Gifts

Student’s Christmas Gift to Teachers

This year more than ever I wanted our Kindergarten teacher and her Educational Assistant to know just how much we appreciated them, especially after the year we had with remote learning with non-independent learners.

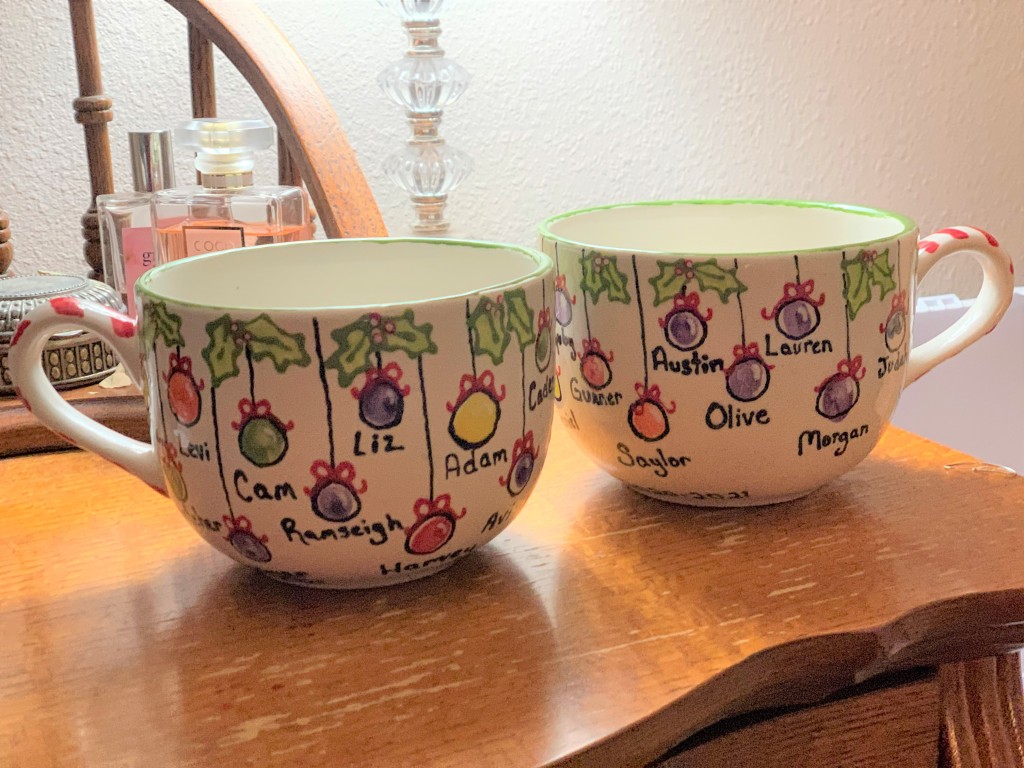
I wanted to create a gift that included each of the students, but how do you get 24 students handprints on one plate?! Our daughter was the one who came up with the idea to have everyone put their fingerprint on something to give to the teachers … and fingerprints can look a lot like Christmas ornaments!

Our local ‘Paint Your Own Pottery’ is amazing! They helped me pick out the cups and then put together a kit for me that included a variety of colors.

It took a few attempts using a pencil, but I eventually was able to sketch out a design that worked where I could space out each of the 24 student’s fingerprints with their names underneath so we knew who was who.

Once the template was finalized on the cups, I worked with another parent who was nice enough to help me capture each of the student’s fingerprints with the pottery paint. We wanted this gift to be a surprise so we made the students promise not to tell the teachers what we were making.

The final result was a success! Both the student’s Kindergarten teacher and her EA were surprised by this fun coordinated effort which allowed the students to all participate and show how much the appreciate everything they do for them!

Easter Footprint Plate

Annual Easter Plate

This year we decided to combine our son and daughter’s footprints together to create a fun bunny footprint creation! Making these plates are always fun and both our kids have been great at doing these with us every year.

This year we chose a bunny theme which was very easy to do. I added some fun flowers and easter eggs in the background to give the bunny-foots a place to hop around in. A simple rim design gave the plate a pop of color and framed the scene nicely.

This can be done at any area ‘Paint Your Own Pottery’ shop. They have all the supplies you need. They usually have a huge selection of plates, platters, etc. They will fire your work when you’re done and call you when it’s ready for pick up.

This larger plate (as our kiddo’s feet keep growing) ran us about $30.

Fall Pumpkin Decorations

Boo.jpg

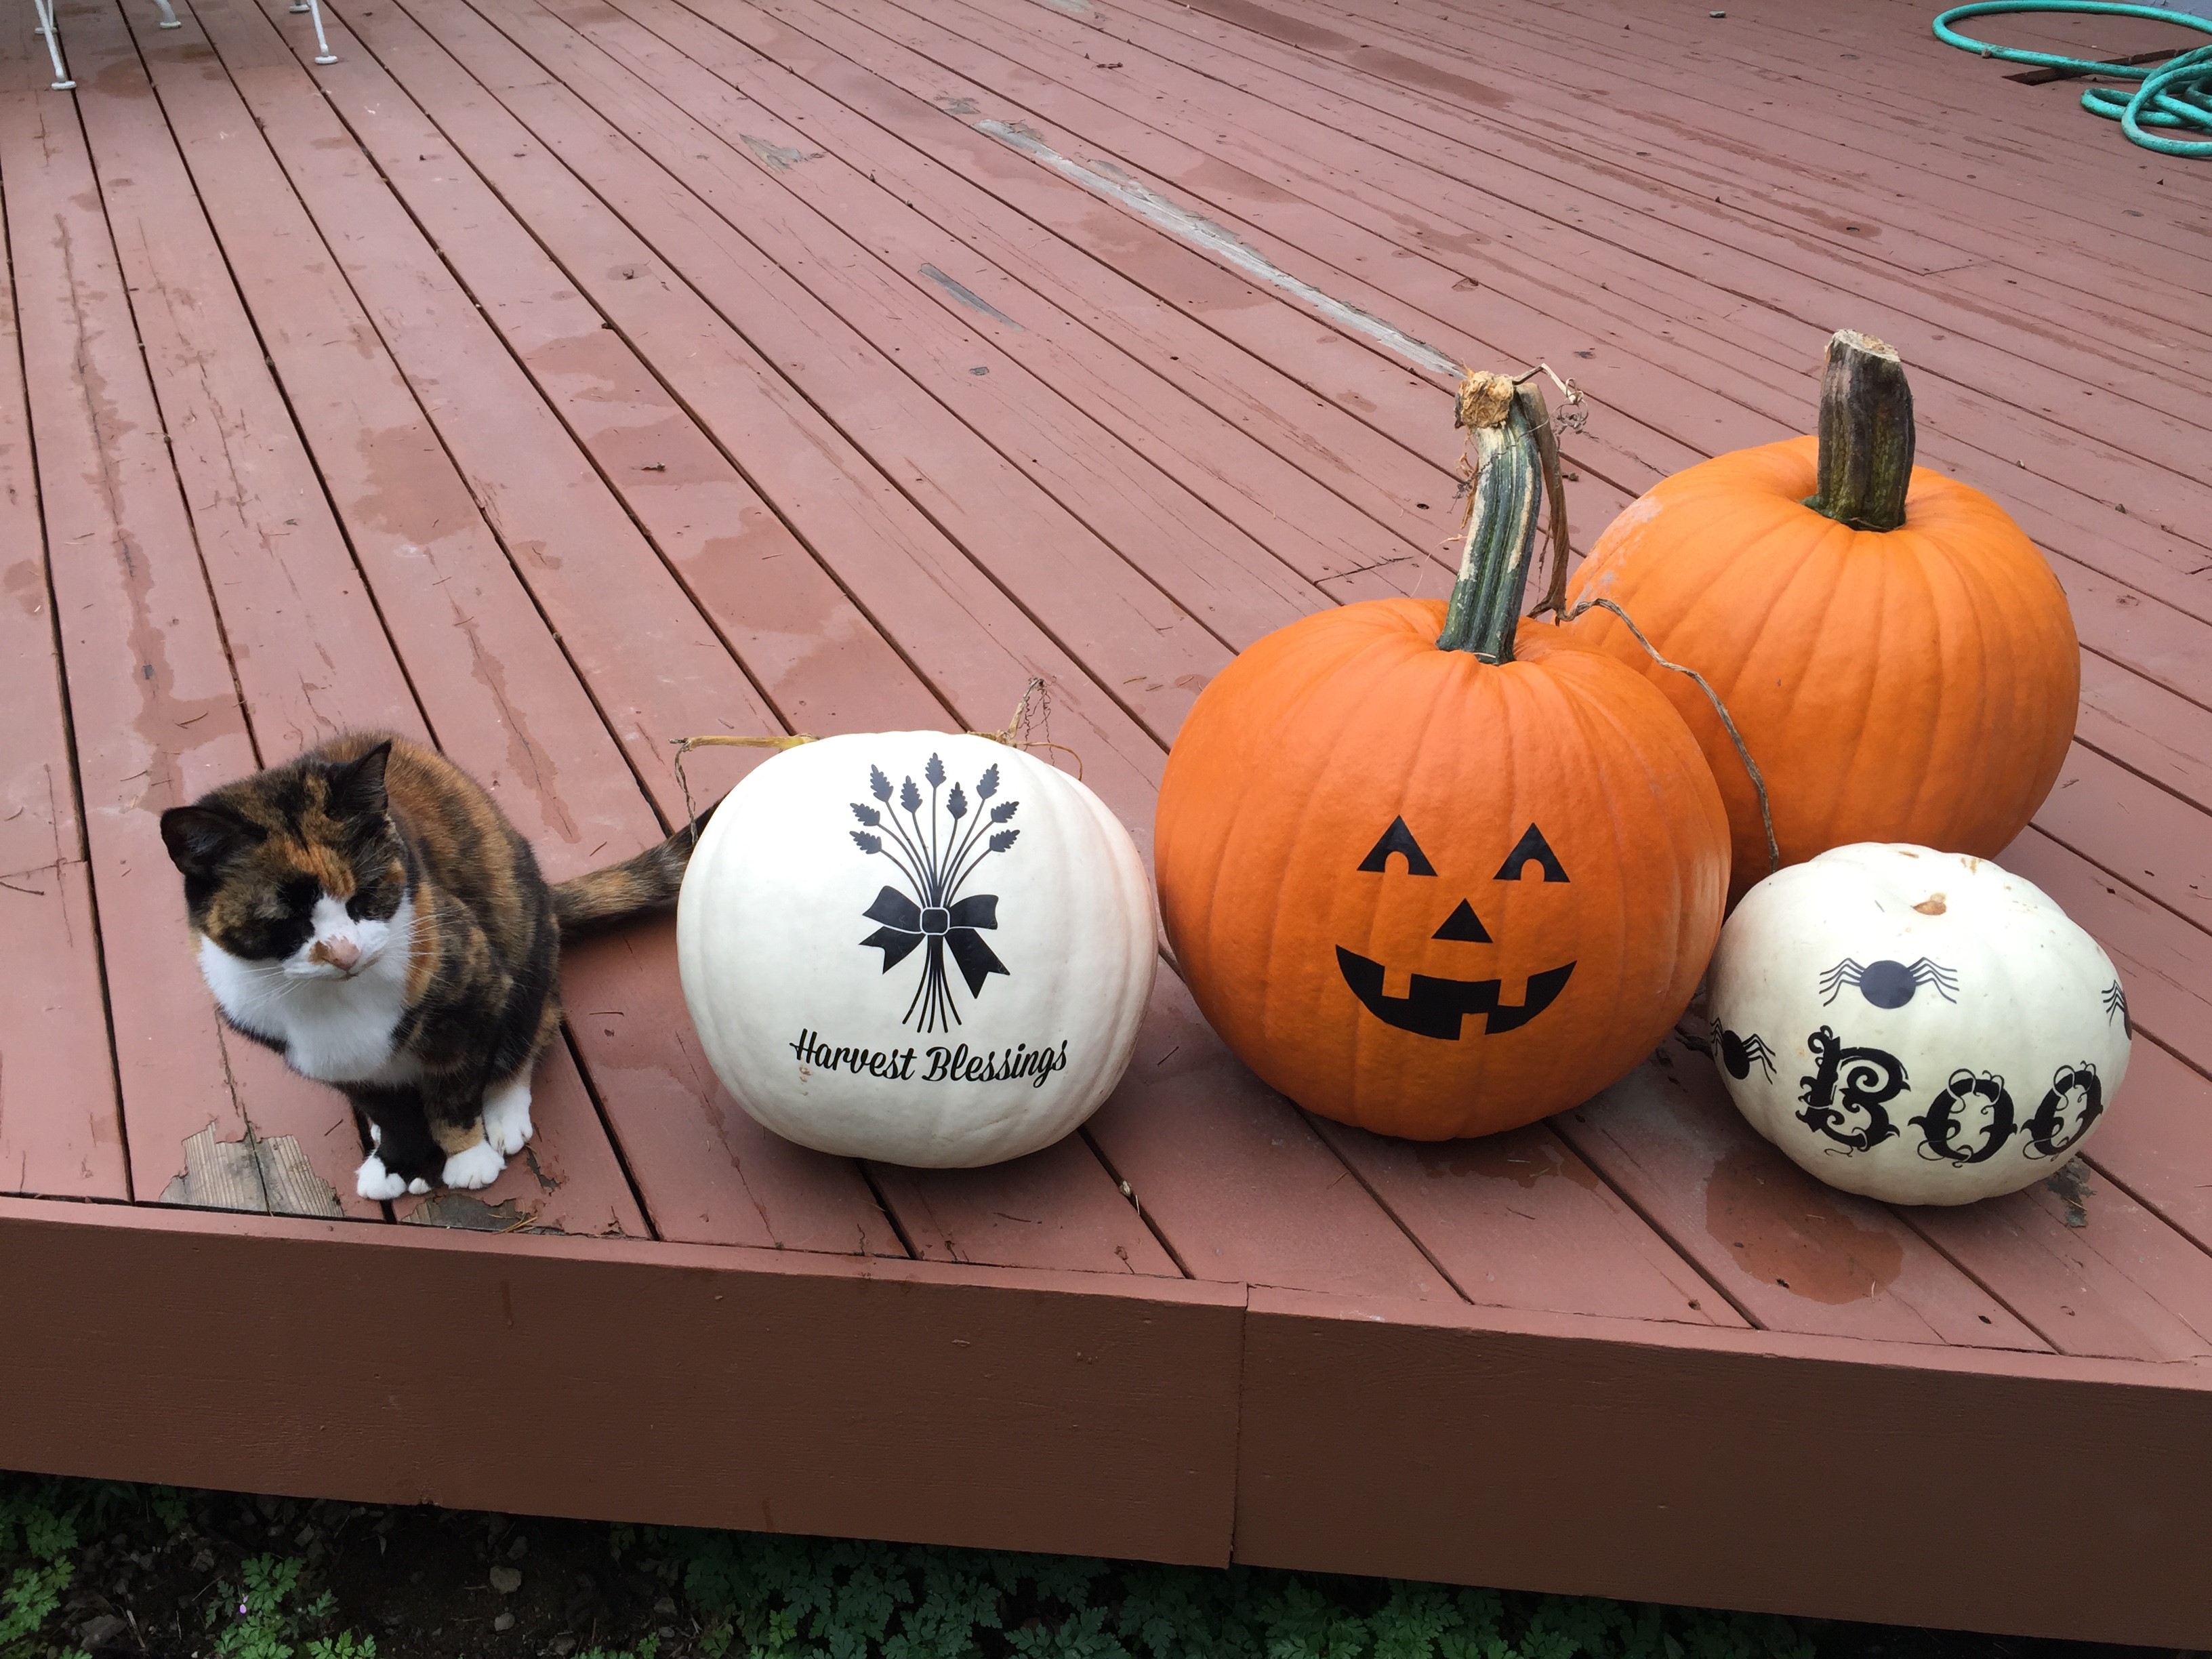
Using some of the examples posted on Pinterest (e.g.: https://www.pinterest.com/pin/573223858804166326/) I went to my local craft store and found some latex transfers.  This was such an easy project!  I was able to simply rub the transfers onto the pumpkins.  No cutting, no worrying about our toddlers poking their fingers into them and/or cutting their fingers.  They loved rubbing the paper and seeing the magic of the images come off on the pumpkins.

Great option for parents with small children!  We live in an area where pumpkin patches are everywhere and so inexpensive. Our little guys picked out their own pumpkins and decorated them when we got home.  No mess – no fuss!

Materials:
$15.00  Pumpkins
$10.00  Latex Harvest Blessings transfer
$ 5.00  Latex pumpkin face transfer
$ 8.00  Latex Boo Transfer
$ 2.00  Latex spider transfer
======
$40.00


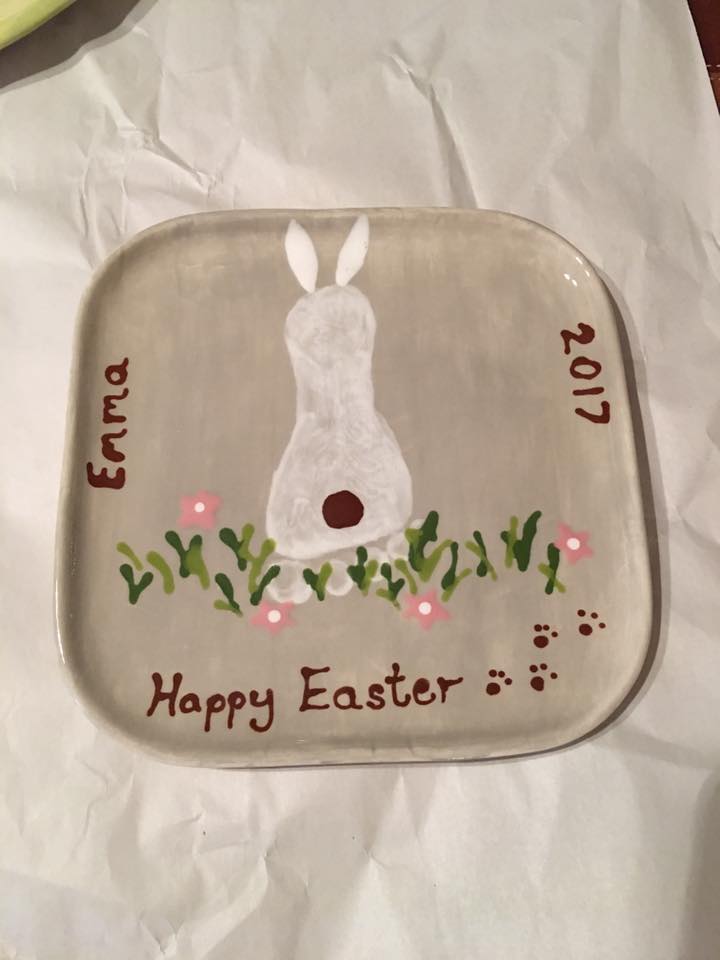
Heirloom Child Footprint Easter Bunny Plate

easter-plate-2

Inspired by the canvas print I saw on Pinterest, https://www.pinterest.com/pin/351912451841921/ – I thought I would TRY and see if my little 21 month old would let me do this on a plate … it took a few attempts, but eventually it worked.  It helped to have family and friends with me to take her afterwards.

I walked my daughter through the process … she was VERY good at letting me paint her foot and press it against the plate, but then she wanted to curl her toes … that was the challenge.  Touching it up was the trick.  It turned into a rush job – as she started to melt down … note to parents who try this, don’t do this around nap time.  Thanks to family / friends was able to knock this out quickly.

Materials:

$25.00 pottery plate

$0.00  pottery place provided all paint/brush supplies and cost for firing plate.

======

$25.00


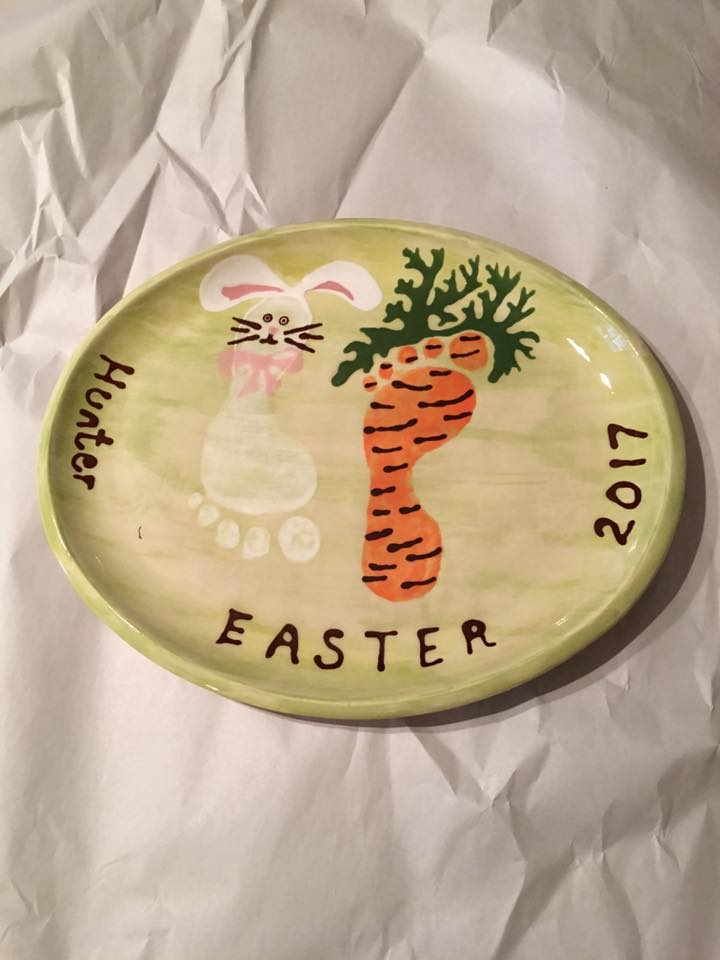
Heirloom Child footprint Easter Plate

easter-plate-1

Inspired by the Easter footprint example on Pinterest, https://www.pinterest.com/pin/44613852531120415/, my family and I visited a paint your own pottery place and tried to replicate the concept.

With the help of my son, I was able to walk him through what we were going to do – and what we were going to make.  He’s 3.5 yrs old now – and has a better understanding what’s involved in the process now.  There for awhile we had to take a break from taking prints – as he didn’t really understand what was going on – now he’s into it!

So it was helpful to have baby wipes on hand and family/friends to help.  I explained that the paint would feel cold and damp, but we are going to make a carrot and bunny out of his footprints and he was very excited.  It took 5 minutes to do both foot prints – and he was very good to be very still when we did them.  A week later when we picked up the plate – we were really happy with the results!

Materials:

$35.00 pottery plate

$0         pottery place provided all paint/brush supplies and cost for firing plate.

======

$35.00

Christmas Child’s handprint tree plate

christmas-handprint-plate-2016

Now that out 3 yr old son and 18 mo old daughter are older – I wanted to make something that allowed both of them to create together – after looking through Pinterest, the answer was a handprint tree, https://www.pinterest.com/pin/492649935267856/.

This is the first time our son and daughter have collaborated to make anything and/or do a craft together – the outcome was amazing!  And they were both SO good at working with each other during this project.  As always, it helped to have family and friends with us to do this … I had our son go first and painted his hand light green and put his hand print on the plate, then we painted our daughter’s little hand light green and had her put her hand on the plate … they had a great time and really enjoyed it.

I wasn’t sure how it was going to turn out but just went with the creative flow.  Adding the string of Christmas lights helped tie the shape of the tree together and adding the base with the planter grounded the image and gave it more structure.

What was a rainy day when we decided to do this craft turned into a fun afternoon with an ever lasting heirloom keepsake.

Materials:

$55.00 Plate

$ 0.00  Paint, brushes, firing provided by pottery place

=====

$55.00


Thanksgiving Turkey Pear Decorations

thanksgiving-centerpiece-2016

Was tasked with providing the decorations at this year’s Thanksgiving, so I went on Pinterest to look for inspiration and what I found was the following: https://www.pinterest.com/pin/455285843564782516/

So armed with this vision I found on Pinterest I went to the grocery store … and I started searching … and searching … and searching for anything ‘dried’ to create the tail portion of this cute little decoration … finding dried mango, dried cherries, dried anything is tricky in Texas grocery stores (unless it’s outside).  So I found myself improvising on some of the items – for starters my pears are not green, but rather brown, which I was good with – because after all, who has ever really seen a green turkey (as was in the Pinterest example)?!

Once I found the baking aisle I started sifting through all the dried fruit options and thinking through what I could use that would fit in with this … I settled on dried cranberries, dried pineapple and raisins … less cutting and easier to thread on a toothpick … and note to anyone who tries this – get the GOOD toothpicks!  Don’t get the flimsy ones I did without thinking … they are impossible to stick into the pears without breaking – fortunately my sister-in-law had some good sturdy toothpicks I was able to use instead.

I couldn’t find any of these ‘candy eyes’ that the other person used, so I got some white candy pearls and used those as eyes a black frosting gel for the dot which made up the eyes.

Kids love to help! And my sister-in-law was really grateful that I had a project that kept her 7 yr old daughter busy … my niece and I had a blast making these little guys and she was quick to create the toothpicks with the fruit that created the tail on the pears.

These little guys added to the fun and were a cute addition to the kids table.  Fun holiday project and easy to do!

Materials:

$25.00  Pears, dried fruit, toothpicks, baby carrots, candy pearls  & black frosting gel

======

$25.00  Total

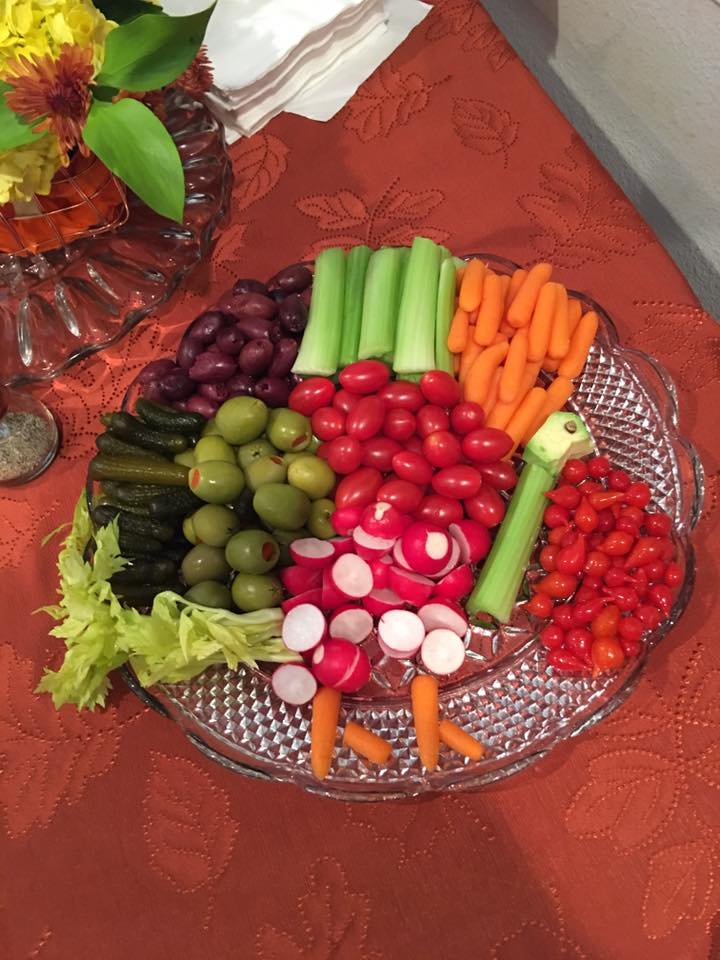
Thanksgiving Relish Tray

thanksgiving-relish-tray-2016

Was tasked with creating this year’s Thanksgiving relish tray with the requirement that it MUST include radishes (for my mother who is the only person who eats them).  So I did a little research on Pinterest and found some really great ideas … like this one: https://www.pinterest.com/pin/371758144215121283/!  Mostly because it incorporated radishes!

So armed with the vision … I went to the grocery store and loaded up on all the wonderful condiments that I thought folks would like in a radish tray … the result can be seen above.  I managed to get this picture off before my brother and dad devoured all the olives.

Our toddlers and nieces and nephew thought it was comical and entertaining to have a plate of food styled to look like a turkey … my mom was pleased to have a bunch of radishes and I was glad I didn’t have to cook!  Win-win all around!

Materials:

$25.00  Olives, pickles, carrots, RADISHES, celery, cherry tomatoes, sweet pea peppers

=====

$25.00  Total